
Totora Baby Jacket Pattern
The Totora Jacket is an ideal project for beginners in garment crocheting. It's worked from the yoke in one piece, and then the sleeves are added. The result is a light, fluffy jacket with a beautiful heathered effect thanks to the Rubí Bambino Jaspe yarn.
🎥 Follow the step-by-step video tutorial at the bottom of this page

✨ Materials
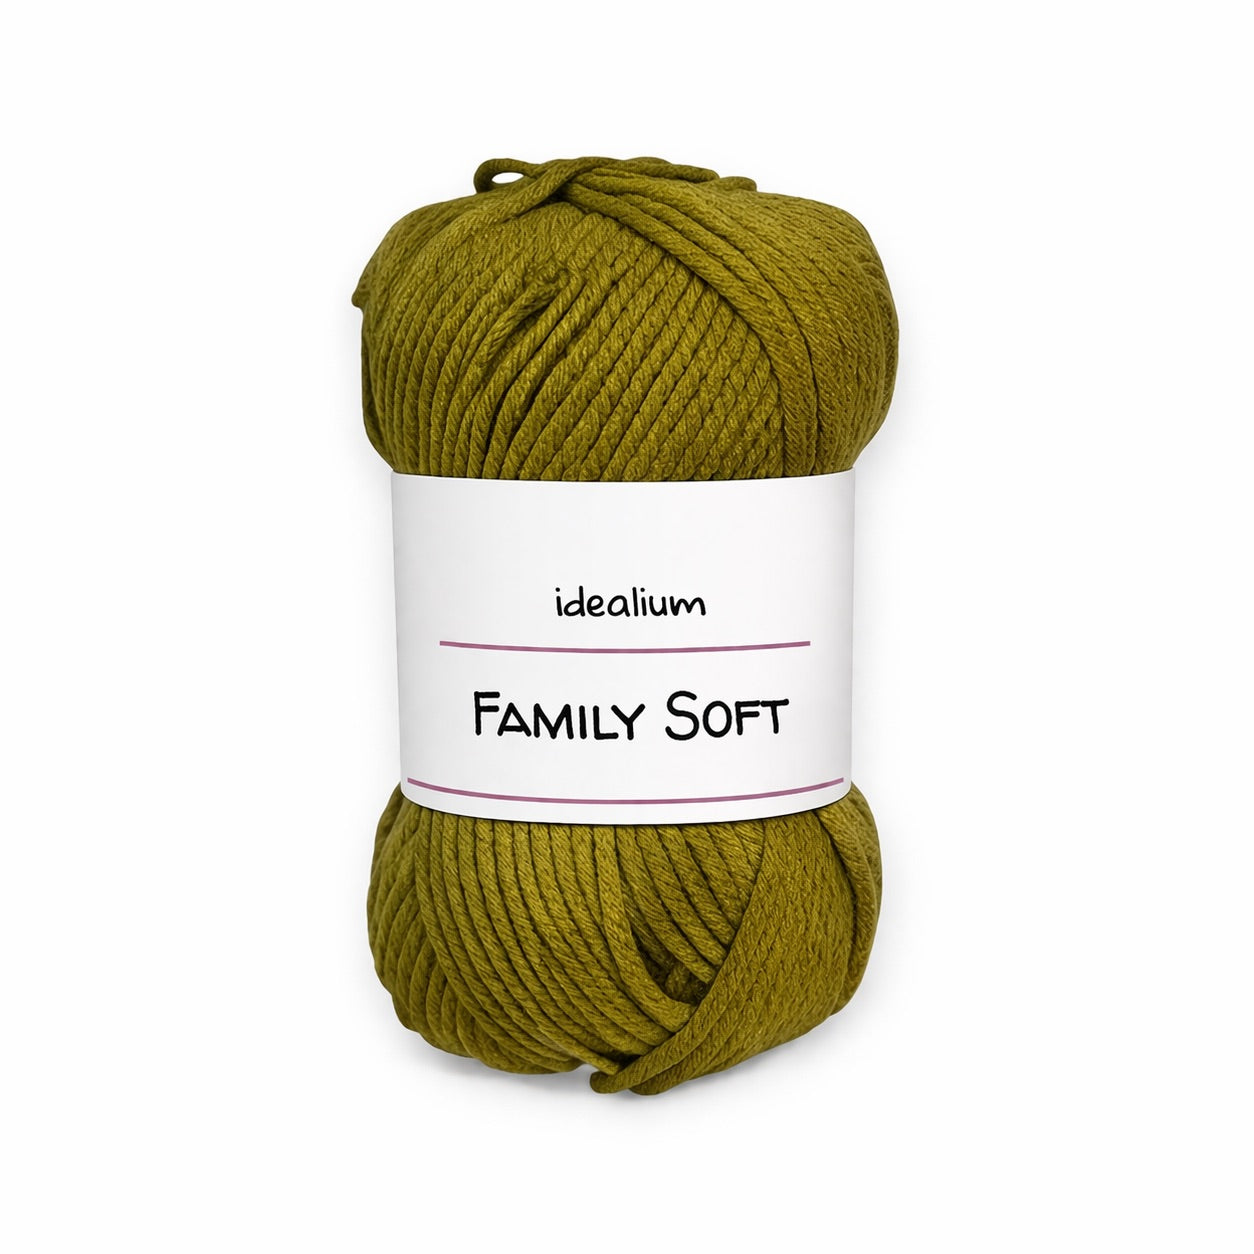
- Ruby Bambino Jasper baby wool
- 3 mm crochet hook (for crocheting the garment).
- 4 mm crochet hook (only for assembling the initial chains, so they are not tight).
- 3 buttons of 2cm.
- Other accessories: stitch markers, yarn needle for finishing threads, scissors, sewing needle.
📐 Sizes
The pattern is available in four sizes:
- 0-3 months -> 1 ball
- 3-6 months -> 1 ball
- 6-9 months -> 2 balls
- 9-12 months -> 2 balls
Throughout the pattern, the stitches and rows are indicated according to size in that order, followed by "/". For example, if it says "knit 4/6/8/10 stitches", for size 0-3m you should knit 4 stitches; for size 3-6m you should knit 6 stitches; for size 6-9m you should knit 8 stitches; for size 9-12m you should knit 10 stitches.
📐 Tension Sample
Using a 3mm crochet hook, my sample size for 10x10cm in double crochet is:
- 16 points
- 9 laps
It's important to check your gauge swatch. If you knit too tightly or too loosely, you can try a larger or smaller needle size to match the swatch.
Step by step
1. Yoke (upper part of the jacket)
- With the 4 mm needle, cast on 54/59/64/70 chains .
- Switch to the 3mm needle.
- Distribute the stitches by placing markers to separate the yoke zones:
- 7/8/9/10 chains → front
- 1 scoreboard
- 10/11/12/13 chains → shoulder
- 1 scoreboard
- 16/17/18/20 chains → back
- 1 scoreboard
- 10/11/12/13 chains → shoulder
- 1 scoreboard
- 7/8/9/10 chains → front

- Knit in double crochet for 7/9/9/9 rows with the following considerations:
- At the beginning of each round, crochet 2 chain stitches, which do not count as a stitch.
- At each marker (raglan), crochet the following: 1 double crochet + 1 chain + 1 double crochet in the same stitch → this will be your raglan increase.
- Note that in each round you will increase by 8 stitches (2 for each raglan).
- At the end of the last round you will have 110/131/136/142 points in total.
2. Body
- Next, we'll join the armholes to continue with the body (we'll leave the sleeves for later). To do this, we'll knit the front, back, and other front pieces in one continuous piece. Here's a step-by-step guide on how to knit this joining row:
- Knit 14/17/18/19 double crochet stitches (front).
- Knit 1 double crochet in the raglan. Knit 1 double crochet in the next raglan (skipping the unknitted sleeve).
- Knit 30/35/36/38 double crochet stitches (back).
- Knit 1 double crochet in the raglan. Knit 1 double crochet in the next raglan (skipping the unknitted sleeve).
- Knit 14/17/18/19 high points (forward).
- At the end of this joining round you will have the body of the jacket with 62/73/76/80 high stitches .
- Knit a total of 11/12/13/14 rounds in double crochet (including the joining round).
3. Jacket hem
Once the body is complete, your crochet hook will be at the bottom corner of one front piece. With the right side of the garment facing you, work a full round of single crochet around the entire inner edge (front, neck, and the other front piece) keeping the following in mind:
- At the corners of the neck , do: single crochet + 1 chain + single crochet in the same stitch so that the turn is smooth and rounded.
- When going up and down the sides (where the double crochet stitches are lying flat): crochet 2 single crochet stitches wrapping around each double crochet stitch .
- When you reach the end, make 1 chain stitch and slip stitch to the next stitch for a clean finish.
4. Sleeves
- Take back the points from one sleeve (those that were left pending).
- Start from the back raglan of the armhole .
- Knit like this:
- 1 high stitch in the first raglan.
- All points awaiting the sleeve (24/29/30/31 high points).
- 1 high stitch in the next raglan.
- Add 1 extra double crochet in the gap between the two raglan stitches.
- Knit 8/9/9/10 rows of double crochet (including this first one), with the following considerations:
- Work in back-and-forth motions (not in a circle), just like we did with the body.
- Remember to make 2 chain stitches at the beginning of each round (which do not count as a stitch).
- Close each round with a slip stitch in the first stitch, turn the work and continue.
- Place a marker on the first and last point of each round so you don't lose them.
- At the cuff, finish with 1 round of slip stitch on the right side .
- Repeat the same process on the other sleeve.

5. Auctions
To finish your jacket, hide all the excess threads between the stitches using a tapestry needle, making sure they are well secured and not noticeable on the right side of the work.
Next, sew three buttons on the front, placing them equidistant from the holes we have left as buttonholes.
6. Blocking and caring for the garment
Washing: machine max. 30ºC
Drying: Lay flat to maintain shape (do not tumble dry)
Do not iron

🎉 And that's it!
Your Totora Jacket is now finished. A lightweight, practical, and very special garment for babies, perfect for beginners who want to make the leap to garments with yokes and sleeves.
🎥 Follow the step-by-step video tutorial:


2 comments
No veo en el video o tutorial cuando se hacen los ojales. Gracias
Muy bien explicado gracias