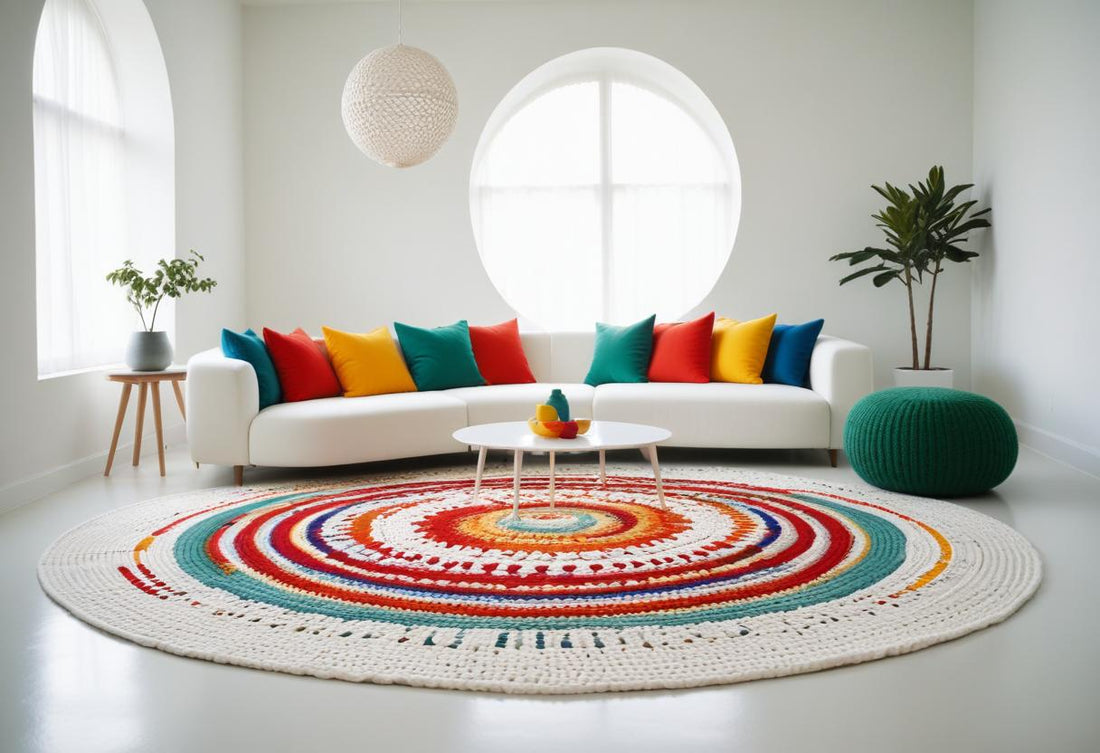
How to crochet the perfect circle step by step
Share
One of the most common doubts when knitting in the round is:
Why isn't my circle really round?
Sometimes it curls, takes the shape of a hexagon, or shrinks at the edges.
In this article, I'll explain how to create a perfectly round circle in crochet using simple tricks and the correct distribution of increases.
Why isn't my circle round?
When knitting a circular base, we need to increase each row to ensure a balanced growth. An increase consists of knitting two stitches over the same stitch from the previous row , keeping the work flat and circular.
The basic sequence of increases is:
- 1st round: increase in all stitches.
- 2nd round: increase every 1 stitch.
- 3rd round: increase every 2 stitches.
- 4th round: increase every 3 stitches.
- 5th round: increase every 4 stitches…
- and so on.
⚠️ The problem:
If you always start the round the same way, the increases will be aligned vertically, creating an angular pattern (like a hexagon).
This causes the circle to lose its perfect shape.
Tip 1: Distribute the increases well
To achieve a perfectly round circle, vary the start of each turn .
This is what is known as “ spreading the increases .”
For example, if you need to increase every 6 stitches, don't start with 6 stitches + increase . Instead, start with "3 stitches + increase" and then continue with the normal sequence. This way, the increases are offset and the circle maintains a balanced shape.
👉 This simple adjustment prevents the increases from falling on the same line and the circle from becoming deformed.
Table of increases and distribution
Below you can see how to distribute the increases over the first 12 rows to achieve a perfect circle.
This chart applies to any type of stitch. If you're knitting in single crochet, start the first row with 6 single crochets; if you're knitting in double crochet, start the first row with 12 double crochets.
| Lap | Increase Ratio | How to knit the beginning of the round | Sequence to repeat the rest of the lap | Points at the end of the round that complete the start |
|---|---|---|---|---|
| 1 | — | 6 PB / 12 PA | — | — |
| 2 | Increases in all points | aum + aum |
aum + aum |
— |
| 3 | Increase every 1 point | 1 p. + inc | 1 p. + inc | — |
| 4 | Increase every 2 points | inc + 2 st. | inc + 2 st. | — |
| 5 | Increase every 3 points | 2 p. + inc | 3 p. + inc | 1 p. |
| 6 | Increase every 4 points | inc + 4 sts. | inc + 4 sts. | — |
| 7 | Increase every 5 points | 3 p. + inc | 5 p. + inc | 2 p. |
| 8 | Increase every 6 points | inc + 6 p. | inc + 6 p. | — |
| 9 | Increase every 7 points | 4 p. + inc | 7 p. + inc | 3 p. |
| 10 | Increase every 8 points | inc + 8 p. | inc + 8 p. | — |
| 11 | Increase every 9 points | 5 p. + inc | 9 p. + inc | 4 p. |
| 12 | Increase every 10 points | inc + 10 p. | inc + 10 p. | — |
Calculating how to start the next row (if your circle is larger) is very simple. To calculate the start of the next row, alternate stitches (adding 1 to the number of the previous two rows) with increases (adding 2 to the stitches of the previous two rows).
Tip 2: How to start the circle
Although the magic ring is very popular, if you are looking for a firmer, flatter base, you can start with closed chain stitches with a slip stitch :
- Crochet 3 or 4 chains.
- Close them in a circle with a slip stitch.
- Work inside that ring for the first round.
This leaves the center dense, flat, and smooth —ideal for bag bases, mandalas, or rugs.
Tip 3: How to close the turns correctly
This is where many people fail without realizing it.
There are two main ways to knit in the round:
🌀 Option 1: spiral (without closing the loop)
- The rows are knitted one after the other, without joining stitches.
- It is a quick method, but the start of the return is slightly shifted and a diagonal line may be noticeable.
- Ideal for single-color projects.
🔸 Option 2: closing each round with a slip stitch
- At the end of each round, close with 1 slip stitch in the first stitch of the round.
- Then make the ascending chains (they do not count as the first stitch):
- Single crochet → 1 chain
- Half stitch → 2 chains
- Double crochet → 2 chains (not 3).
This system leaves the edge perfectly clean, aligns the turns and is the most recommended for decorative or multi-color projects .
👉 At Idealium, we use this method on all our circular rag rugs because it maintains the perfect shape and a professional finish.
Tip 4: Adjust the tension of the fabric
Balanced tension is just as important as increases.
- If you knit too tightly, the circle will curve upwards (“bowl” effect).
- If you knit too loosely, waves or ripples will form.
💡 Tip: The fabric should be flexible, but not loose. If you're using thick fibers (such as rag or wool roving), relax your hand and let the yarn flow smoothly.
Tip 5: Apply these tricks to your projects
Once you master the technique, you can use this method for any circular creation:
- Carpets
- Coasters
- Round bags
- Decorative mandalas
- Mats or basket bases
If you want to put it into practice with a real project, you can follow this pattern:
👉 How to weave a perfect round rag rug
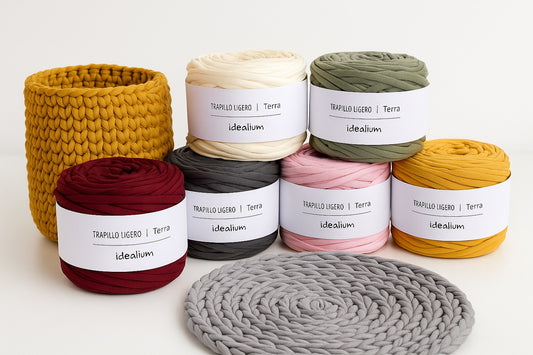
There you will find the same principle applied to Trapillo Terra , with a complete pattern, increase chart, and step-by-step video tutorial.
Conclusion
With these tips and a little practice, you'll be able to crochet perfect circles for any project: rugs, baskets, bags, or fashion items.
Remember: the secret is in the distribution of the increases , the correct closing of the rows and the tension of the thread .





10 comments
Me gustaría ver el vídeo de circulo paso a paso
Exelente explicacion.muchas gracias.-
Siempre en cada corrida se hace el aumentoj
Hola estoy hasiendo un tapete crochet ya voy en la vuelta 27 y le estoy dando 27 puntos y un aumento use la secuencia 1 punto 1 aimento 2puntos 1 aum 3 y aum y asi susesivamente hasta llegar al 27 lo estoy hasiendo bien???
Muchas gracias. Excelente método para hacer un circulo perfecto