

Arctic Crochet Hat – Free Unisex Step-by-Step Pattern
This free unisex crochet beanie pattern is a winter staple with a folded brim and subtle texture that creates a modern, flattering finish. It is worked flat and seamed at the end, making it ideal if you are just starting out with crochet or looking for a quick project.

Everything you need
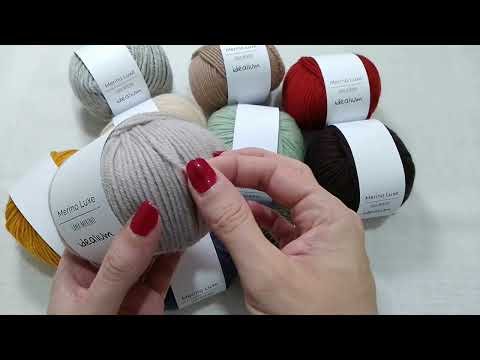
- Recommended yarn weight (CYC): #4 Medium (Worsted / Aran) — ideal for achieving warm texture and structure without losing flexibility.
- Crochet hook: 4 mm or 4.5 mm depending on your tension.
- Accessories: yarn needle and scissors.
👉 Choose your yarn by weight category in our store and select your favorite color.
Finished measurements
Standard adult size: head circumference approx. 55–57 cm.
| Measurement | Approx. value | Notes |
|---|---|---|
|
Hat height |
~27 cm (before the fold) |
Achieved with the starting chain (approximately 42 ch). |
|
Circumference |
~55 cm |
Repeat rounds until you reach this length, then join in the round. |
|
Bottom fold |
~5 cm |
Provides a better fit and a modern finish. |
Abbreviations
- ch: chain
- hdc / sc: half double crochet (US terminology)
- sl st: slip stitch
- front/back loop: work only in the front loop or back loop of the stitch
Stitches used
- Half double crochet (hdc)
- Slip stitch (sl st)
- Work partially in the front loop and back loop to create texture
Step-by-step pattern
Start: chain 42 ch or until your piece measures 27 cm in height (including the allowance for the fold).
- Round 1. Starting in the 3rd ch from the hook, work 1 hdc and continue with hdc to the end (you should have ~40 stitches).

- Round 2. Chain 2 to turn. Work 5 hdc in the front loop only (photo A) + 35 hdc in the back loop only (photo B). Total: 40 stitches.

- Round 3. Chain 2 to turn. Work hdc through both loops (normal) across the row (40 stitches).
- Repeat rounds 2 and 3 until the piece measures ~55 cm in length (in the example, through round 55), always ending with round 3.

- Side seam. Join the short ends with slip stitches to form a tube, making sure the raised sections line up.
- Position the fold on the band with alternating raised sections. Sew the 1st stitch to the 10th stitch -Photo A- (the 10th is directly behind if the fold is approximately 5 stitches in front + 5 stitches behind), passing the needle through both sides of each raised section so it stays securely in place (photo B).

- Top closure. With a yarn needle, pass the yarn through the first loop of each raised section at the opening of the hat (photo A), pull to gather (photo B), and close. Reinforce it by passing through the first stitches of two raised sections, skip 3, and repeat (photo C).

- Pull the yarn and secure it: you’re done!
✨ Finishing
- Weave in the ends on the inside with a yarn needle.
- Fold the lower band for a comfortable fit and the characteristic look.
- Optional: lightly steam (without touching) to set the texture.



1 comment
Me gustaría ponerme en contacto con vds, un tlf por favor? Que es el punto medio?