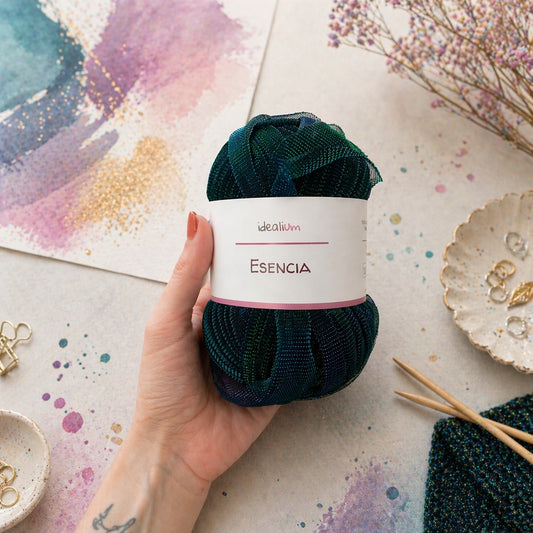

How to crochet a T-shirt-yarn bucket bag
The drawstring bag (or bombonera) is one of the most rewarding T-shirt-yarn projects: quick, sturdy, and very easy to adapt to your taste. It is also perfect if you are looking for a bag with a compact stitch and a drawstring closure that looks attractive and practical.
In this guide, I explain how to crochet a T-shirt-yarn drawstring bag step by step, with tips to keep the base flat, make the sides rise straight, and help the bag hold its shape with use.
Table of contents
- Recommended materials
- Suggested measurements (and how to adjust them)
- Which stitch to choose for a structured bag
- Step 1: crochet the base (in the round)
- Step 2: build the walls without distorting the shape
- Step 3: add height and control the width
- Step 4: prepare the eyelets for the cord
- Step 5: insert the cord and adjust the closure
- Handles: options and how to reinforce them
- Lining and structure: when they are worthwhile
- Common mistakes and solutions
- Materials at Idealium
Recommended materials
- T-shirt yarn (ideally even and with good structure).
- Crochet hook suitable for the T-shirt yarn. The important thing is for the stitch to be compact, with no gaps.
- Stitch marker for the beginning of the round (essential).
- Yarn needle for weaving in ends.
- Cord or ribbon for the drawstring (it can be crocheted, purchased, or a sturdy cord).
- Optional: lining and a rigid base if you want a more structured bag.
Tip: with T-shirt yarn, the appearance of a beautiful bag depends greatly on tension. If your fabric is too “open,” the bag will stretch under the weight. Adjust the tension manually or change the hook size until you achieve a compact fabric.
Suggested measurements (and how to adjust them)
A drawstring bag usually looks great with these proportions (as a guideline):
- Base diameter: 18–22 cm
- Total height (not including the gathered section): 18–24 cm
- Drawstring/eyelet area: 2–4 cm
To adjust it:
- A larger base diameter = a wider bag.
- More wall rounds = a taller bag.

Which stitch to choose for a structured bag
For a T-shirt-yarn drawstring bag that holds its shape, a compact stitch is ideal:
- Single crochet (classic, sturdy, and easy).
- Center single crochet (firmer, with a very professional finish).
If you want a softer bag with more drape, you can use slightly less compact stitches, but keep in mind that the weight will make it stretch more.
Step 1: crochet the base (in the round)
The base is the part that determines the bag’s stability. The important thing here is for it to remain flat (without rippling).
How to make it
- Start with a magic ring (or a chain closed into a circle).
- Work the first round with increases to form a circle.
- Continue increasing regularly on each round (distributing the increases) until you reach the desired diameter.
How to tell if you’re on the right track
- If the base ripples, you have too many stitches or are crocheting too loosely.
- If the base shrinks (like a bowl) from the beginning, you are pulling too tightly or need more increases.
Step 2: build the walls without distorting the shape
The trick to making the bag rise straight is to mark the break between the base and the walls.
Transition round (recommended)
- Work 1 round through the back loop only (BLO) of each stitch.
This creates a neat line and helps the fabric “fold” and rise without a hat-like effect.
Then, build the walls
From there, work in the round without increasing for several rounds. Use a stitch marker and count the stitches from time to time to avoid accidentally adding increases.
Step 3: add height and control the width
A bag usually looks better when the body rises straight and the closure gathers at the top. Therefore:
- Work the body without increases until you are close to the final height.
- If you want the bag to be slightly more “rounded,” you can add just a few increases spaced out (for example, 1 increase every 18–24 stitches) in only 1 round, then continue straight.
Step 4: prepare the eyelets for the cord
There are several ways to make eyelets. Here’s a simple, neat option:
Practical option: a round with spaces
- Work one round alternating: 1 stitch + 1 chain (skipping one stitch from the previous round).
- On the next round, work stitches into stitches and stitches into spaces to “close” the eyelet with a neat edge.
Tip: to keep the eyelets properly aligned, distribute the pattern from the beginning of the round and maintain the same rhythm all the way around.
Step 5: insert the cord and adjust the closure
Once you have the eyelets:
- Thread the cord through with the help of a tapestry needle or a safety pin.
- Distribute the gathering evenly and adjust the tension.
- If you want a more convenient closure, you can use two cords (one threaded in from one side and the other from the opposite side) so that pulling them closes the bag more evenly.
Handles: options and how to reinforce them
With a drawstring bag, you can choose:
- Short handle (handheld): ideal for a small drawstring bag.
- Long strap (crossbody): very practical.
- Double backpack-style handle (if you like the drawstring backpack style).
Basic reinforcement (very important)
- Distribute the attachment across several points (do not secure it at just one point).
- Reinforce it from the inside with firm stitches and, if there is a lining, use it to conceal the reinforcement.
Lining and structure: when they are worthwhile
A drawstring bag can go without a lining if it is decorative or lightweight, but if it will be used every day:
- The lining protects the interior and helps keep the bag from stretching.
- A rigid base prevents the bottom from sagging under the weight.
Common mistakes and solutions
The base ripples
Solution: check your increases and tension. If it ripples, there is usually an extra increase or not enough firmness.
The sides flare out as you work upward (hat shape)
Solution: define the transition with 1 round in BLO and make sure you do not increase.
The closure does not gather properly
Solution: make clearer eyelets (with regular spacing) and use more slippery cord or two cords.
The handles stretch
Solution: reinforce the attachment point and, if the bag will carry weight, use a more stable strap.
- T-shirt yarn for bags with body and quick results.
- Cord and accessories (straps, chains, closures) to customize the finish.
- Stitch markers and a tapestry needle to keep track of rounds and finish neatly.
- Optional: lining and a rigid base for a premium structure.
A T-shirt-yarn drawstring bag looks beautiful when the base is flat, the base-to-wall transition is clearly defined, and the drawstring closure is well designed. If you also reinforce the handles and (if needed) add a lining, you’ll have a comfortable, sturdy bag that holds its shape.