Cinnamon Bunny Amigurumi Pattern
Share
We present the free pattern for Cinnamon Bunny 🐰 , an ideal project for beginners in amigurumi . With just a few materials and a little love, you'll crochet this adorable bunny step by step: perfect for gifting, decorating, or keeping you company in your crochet corner.
Still unfamiliar with the technique? First, read the article on the general blog: "Amigurumi: the cute technique of the moment" .
📑 Table of Contents
🌸 Level and estimated time
| Difficulty | Beginner |
| Approximate time | 3–4 hours |
| Main technique | continuous spiral crochet |
Materials needed
| Material | Quantity / recommendation |
|---|---|
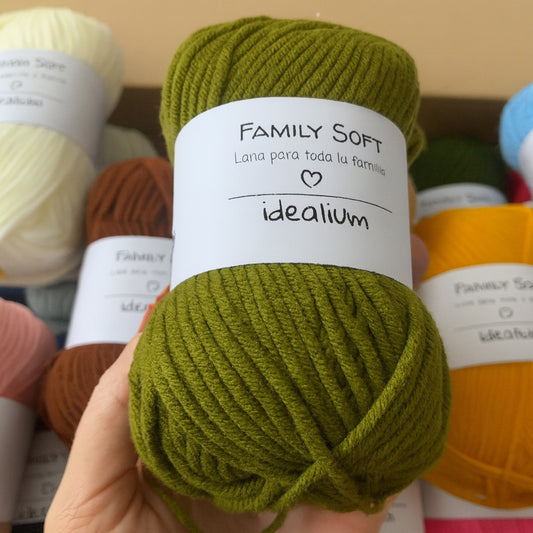
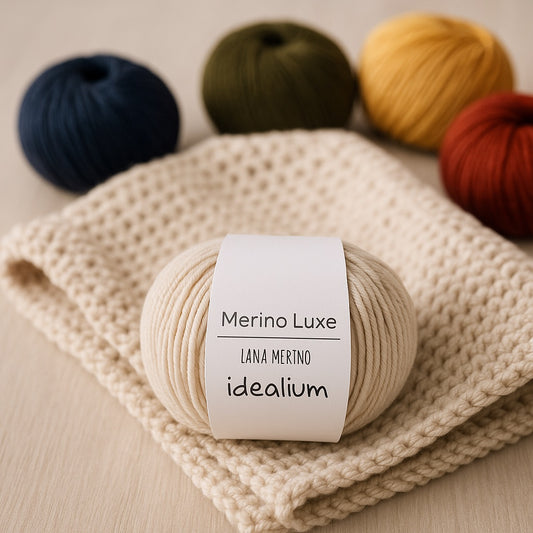
| Thread | 1 ball of light beige or cream yarn, DK thickness |
| Crochet hook | 2.5 mm |
| Stuffed | Synthetic fiber or washable wadding |
| Eyes | 8mm safety eyes (or black embroidery thread) |
| Fine pink thread | For the nose and details |
| Accessories | Yarn needle, scissors, and stitch marker |
Tip: Use a needle slightly smaller than the one indicated on the yarn label so that the fabric is tighter and the filling is not visible.
📏 Approximate final size
- Height: 16–18 cm
- Width: 8–9 cm
- Weight: ~25 g (without filling)
It may vary depending on your knitting tension and the thickness of the yarn.

Points used
- pb: low point
- inc: increase (2 sc in the same stitch)
- de: decrease (2 bp together)
- cad: chain
All rounds are worked in a continuous spiral (do not join with a slip stitch). Use a stitch marker for the beginning.
Step-by-step pattern

🐇 Head and body (in one piece)
- V1: magic ring of 6 sc (6)
- V2: increase at all points (12)
- V3: 1 sc, 1 inc ×6 (18)
- V4: 2 sc, 1 inc ×6 (24)
- Rounds 5–9: 1 sc in each stitch (24)
- V10: 2 bp, 1 dec ×6 (18)
- V11: 1 sc, 1 dec ×6 (12). Fill the head .
- V12: 1 sc, 1 inc ×6 (18)
- Rounds 13–18: 1 sc in each stitch (18)
- V19: 1 bp, 1 dec ×6 (12)
- V20: 6 dis (6). Close and finish.
🐰 Ears (x2)
- V1: magic ring of 6 sc (6)
- Rounds 2–10: 1 sc in each stitch (6). Do not stuff. Flatten and sew to the head.
🐾 Paws (x2)
- V1: magic ring of 6 sc (6)
- V2: 1 sc, 1 inc ×3 (9)
- Rounds 3-5: 1 sc in each stitch (9). Lightly stuff and sew to the base of the body.
🖐 Arms (x2)
- V1: magic ring of 6 sc (6)
- Rounds 2-6: 1 sc in each stitch (6). Stuff very little and sew to the sides of the body.

💖 Final details
- Eyes: Place safety eyes (8 mm) between V7–V8, separated by ~7 points.
- Nose: embroider a small triangle with pink thread and a short stitch for the mouth.
- Tail: add a small pompom in beige or white.
- Extra: Knit a mini scarf or bow with leftover yarn.
🌟 Tips for a perfect finish
- Knit with even tension and use a needle half a size smaller than recommended.
- Fill in thin layers to avoid lumps.
- Sew with thread of the same color as the fabric and in good natural light.
- For a "Cinnamon" look, combine light beige with accessories in sage or peach tones.


