How to Crochet a Top-Down Sweater Step by Step
Share
The crochet top-down sweater is one of the most comfortable, adaptable, and satisfying constructions you can knit. You start at the neck, work in the round, and as you progress, you can test it and adjust the measurements to fit your body. In this article, we show you step-by-step how to do it, from stitching the yoke to finishing the body and sleeves. Ideal for beginners and lovers of modern crochet!
Contents of this guide
- What is a crochet top-down sweater?
- Choosing the pattern and materials
- How to distribute the yoke stitches
- Neck shapes: square vs. round
- Step by step to knit the yoke
- Separate sleeves and form the body
- Knit the sleeves
- Optional: decorative collar
- Final finishes
- Additional resources
🌟 What is a crochet top-down sweater?
It's a top-down garment, starting at the neck and working in the round to form the yoke. Once the armhole is reached, the sleeves are separated and the body is continued. Finally, the sleeves are picked up and worked in the round.
This method allows:
- Try on the garment while you knit it.
- Adjust the length of the body or sleeves on the fly.
- Create designs with no or very few seams.
📊 Choosing the pattern and materials
To get started, you need:
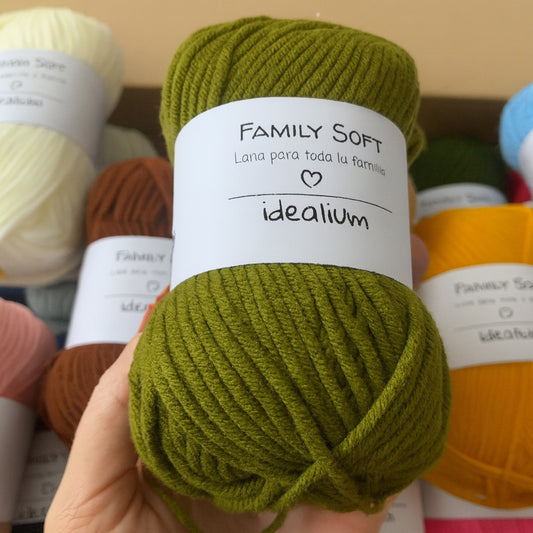
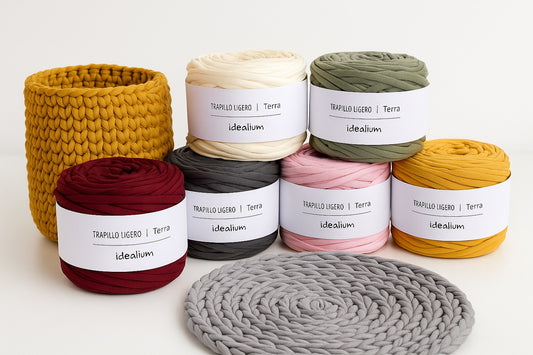
- Balls of wool or cotton of the desired thickness
- Crochet hook of the appropriate size
- Stitch markers (at least 4)
- Wool needle and scissors
- Measuring tape
We recommend starting with a medium yarn (DK or Worsted) and a 4mm or 5mm needle, ideal for seeing the stitches clearly.
Before you begin knitting the yoke, the first step is to cast on a chain stitch strip that will form the neckline. The number of chains will depend on the pattern you're following. If you're designing your own sweater, calculate a length that will comfortably fit over your head when knitted. It shouldn't be too tight or too loose.
📏 How to distribute the yoke stitches
Once the initial chains have been assembled to form the neck, we must distribute the stitches between the different parts of the sweater:
- Front
- Back
- Left sleeve
- Right sleeve
- And 4 increase stitches (one in each corner between body and sleeves)

✏️ Classic cast
The most common system for distributing points follows this proportion:
- 3 parts for the forward
- 3 parts for the back
- 2 parts for each sleeve
- + 4 corner stitches for increases
Example:
If you have 88 chains:
- Subtract 4 points for the corners: 88 - 4 = 84
- Divide 84 by 10 = 8.4
-
Assigns:
- Front: 3x8 = 24 pts
- Back: 24 pts
- Sleeves: 2x8 = 16 sts each
- Corners: 4 pts
From there, you knit in the round and increase in each of the 4 corner stitches.
Neck shapes: square vs. round
The stitch distribution may be the same, but the shape of the neck depends on how you work the first few rows.
Square neck
- The easiest to build
- Increases are made only in the 4 corners
- More structured and angular shape
👉 It is perfect for basic designs and beginner patterns.
Round neck
- More ergonomic and flattering
-
You can do it with:
- Short turns on the back
- Increases spread across more points (not just the corners)
- Separate neck that is then joined together
If you want to learn more about the different neck shapes, read our article on Crew Neck vs. Square Neck in Crochet Top Down Sweaters.
✅ Step by step to knit the yoke - easy!
1. Cast on the chains
- Make a multiple of 10 according to your size
- Join in the round with a slip stitch
- Go up with 3 chains (they count as the first double crochet)
2. Place the markers
Place them on the 4 points that will serve as corners (between front, sleeves and back), according to the distribution of points.
3. Lap 1
- Knit double crochet stitches to the first marker
- At each marker make: 1 double crochet, 1 chain, 1 double crochet (this forms the corner and allows for growth)
- Repeat until the lap is complete.
- Close with a slip stitch in the 3rd initial chain
4. Next laps
- On each round, repeat the increases within the 1 chain space of the corners
- The fabric will grow forming a square or rounded yoke depending on the case.
- You will increase 8 stitches each round
5. Check the measurement
- Measure the height of the yoke from the neck to the armhole
- When you get to the armhole, you are ready to separate the sleeves and body.

Separate sleeves and form the body
- Put the points of each sleeve on hold
- Continue in the round with double crochets (or any stitch you wish) on the front and back of the body (skipping the sleeves).
- Knit until you reach the required garment length.
Knit the sleeves
1. Recover points
- Join the thread at the armhole
- Recover the points from the sleeve
2. Knit in the round
- Continue knitting in a spiral or in closed loops
- You can decrease slightly to slim the sleeve.
3. Finish with the fist
- Knit several rows in rib or single crochet
💄 Optional: decorative collar
If you wish, you can knit a finish on the neck:
- Round ribbing
- Single crochet
- High or turned-up neck
📅 Final finishes
- Hide all the threads with a wool needle
- Wash and block the garment to set the stitches
- Enjoy your handmade top-down sweater!


