How to sew a button onto a hand-knitted garment (knit or crochet)
Share
When we finish knitting a jacket, cardigan, or any garment with a closure, it's time to attach the buttons. It may seem like a minor detail, but doing it right ensures that the button is sturdy, securely fastened, and has a clean, professional finish.
In this article, I explain how to sew a button onto a knitted or crocheted garment step by step , using the same wool as the project or a suitable yarn.

Materials you need
- Your knitted garment (already finished and blocked).
- The button you want to place.
- A piece of the same wool used in knitting (separated into strands) or a strong sewing thread.
- Sewing needle (thin, as the wool needle is usually too thick to pass through the button holes).
- Scissors.
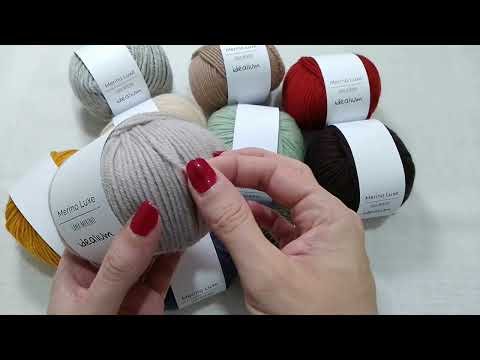
Video tutorial: how to sew a button on hand-knitted fabric
If you prefer to follow the process visually, here's the step-by-step video tutorial where I show you exactly how to do it:
Step by step to sew a button on hand knitting
1. Prepare the thread
If you're using the same yarn as the garment, separate the strands and use only two strands together . If you're using sewing thread, use two strands together as well. Thread your sewing needle with both strands.
2. Secure the thread to the garment
Make a stitch where you want to place the button. Tie a double or triple knot to secure it, and trim the excess from the short end almost flush.
3. Start sewing the button
Pass the needle from bottom to top through one of the button holes and then from top to bottom through the opposite hole. Adjust the tension: it should be firm, but not too tight so as not to distort the fabric.
👉 Every time you cross the button, also make a stitch in the garment to reinforce it.
4. If the button has four holes
Repeat the same process in the other two holes, always securing with stitches in the fabric.
Make as many passes as needed depending on the thickness of the thread and the size of the button, until it is secure.
5. Create the yarn stem
With the button sewn on, wrap the thread several times around the threads holding the button and fabric together. This creates a small stem that provides mobility and strengthens the hold.
The number of turns will depend on the thickness of the thread and the button, but it should be tight and solid.
6. Finish the thread
Make two stitches passing the needle under the button, going through the stem you just formed: one from right to left and one from top to bottom .
Cut the thread as close to the button as possible so the end is hidden.
Final tips
- Choose appropriate needles and buttons: the smaller the button hole, the finer the thread should be.
- If the garment is thick, leave a longer thread stem so that the button doesn't stick too tightly.
- Before sewing on all the buttons, test one to check placement and tension.
✅ And that's it! Your button is now securely and aesthetically sewn onto your knitted or crocheted garment.


