
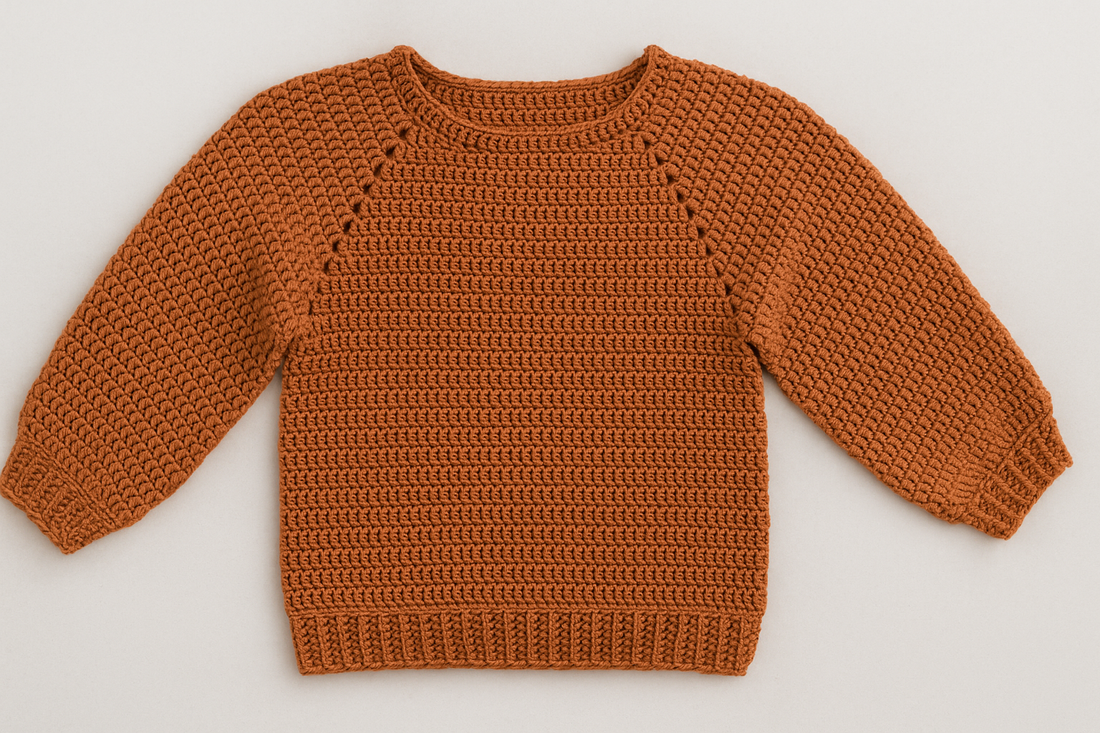
How to calculate stitch distribution for a top-down crochet sweater
If you’re thinking of crocheting a top-down crochet sweater, one of the key steps is knowing how to distribute the yoke’s starting stitches between the front, back, and sleeves. And, above all, how to adapt the pattern so that the neckline has a round or square shape, depending on the style you prefer.
In this article, we explain the method step by step so you can design your own top-down crochet sweater from the neckline downward, with a perfect finish.
What does “top down” mean in crochet?
A top-down sweater is worked from the top (the neckline) downward, in one piece or in several parts that are joined together later. This method is ideal if you want to try on the garment as you work, adjust the length, or easily customize the design.

✨ How to distribute yoke stitches in crochet
Once you have the total number of chain stitches to form the neckline, you need to divide them into four sections:
- Front
- Back
- Left sleeve
- Right sleeve
You also need 4 increase stitches, one at each corner of the yoke (that is, between the body and sleeves). These stitches are essential for the garment to grow properly downward.
📏 Classic method for distributing stitches
The most common method follows this ratio:
- 3 sections for the front
- 3 sections for the back
- 2 sections for each sleeve
- + 4 corner stitches for increases
Practical example:
Imagine starting with 88 chain stitches for the neckline:
- Subtract the 4 corner stitches → 88 - 4 = 84 stitches to distribute
- Divide 84 by 10 (3+3+2+2) → 8.4 stitches per section
- Approximate distribution:
-
- Front: 3 × 8 = 24 stitches
- Back: 3 × 8 = 24 stitches
- Right sleeve: 2 × 8 = 16 stitches
- Left sleeve: 2 × 8 = 16 stitches
- Corners: 4 stitches
✅ Total: 84 + 4 = 88 stitches!
🔁 From there, work in the round, increasing at each of the 4 corner stitches.
🎯 How to make a round or square neckline?
This is the key difference: although the stitch distribution is the same, the final shape of the neckline depends on how you work the first rounds.
- Square neckline in top-down construction
This is the simplest and most straightforward method, ideal if you're just starting out:
- From the first round, you increase only at the 4 corner stitches.
- This creates a square or rectangular yoke.
- The neckline has pronounced diagonal lines between the body and sleeves.
👉 It's perfect for basic designs and beginner patterns.
- Round neckline in top-down construction
If you want a softer, more ergonomic, round neckline, you can use one of these techniques:
1. Short rows at the back
Before joining the yoke in the round, work several short rows across the back. This slightly raises the back and makes the neckline fall forward more naturally.
2. More distributed increases
Instead of increasing only at the 4 corner stitches, you can distribute some increases throughout the yoke, especially across the front. The result is a more curved, less angular shape.
3. Separate neckline
Another option is to crochet an elastic or decorative neckline first and then pick up stitches to start the yoke. This allows more freedom in shaping the neckline.
Comparison: square vs. round neckline
| Feature | Square neckline | Round neckline |
|---|---|---|
| Difficulty | Very easy | Requires more technique |
| Method | Increases at 4 corners | Short rows or distributed increases |
| Style | More structured, clean-cut | Softer, ergonomic, and flattering |
| Ideal for | Basic or beginner-friendly patterns | Custom or more advanced designs |
In summary
If you already know the number of chains needed to start your top-down crochet sweater, you now know how to distribute the stitches between the front, back, and sleeves, and how to adapt the construction so that the neckline is round or square.
Whether you're looking for a simple or more elaborate design, this method gives you the freedom to create and adapt your own crochet patterns.
🛒 Do you want to start your sweater now?
Find the perfect yarn balls for your next project in our online store:
We have yarns and cottons for every style, and we're here to help you every step of the way!




2 comments
me gustaría muchísimo saber cómo se hace ourself. si tienen más puntos en la espalda o en el delantero.
me gustaría muchísimo saber cómo se hace ourself. si tienen más puntos en la espalda o en el delantero.