Crochet Big-Eared Plush – Step-by-Step Pattern
Orejolín is a cute and cuddly crocheted plush toy, perfect as a gift or to decorate a child's room. It's an XL amigurumi with simple lines, crocheted with basic stitches and lots of love. Ideal for beginners eager to create their first handmade doll 💛.
Table of Contents
This is how your project will look
Your Orejolín plush toy will measure approximately 35 cm tall (depending on the fabric tension and type of cotton). It has a rounded body, floppy ears, and a friendly expression that makes it an adorable companion.
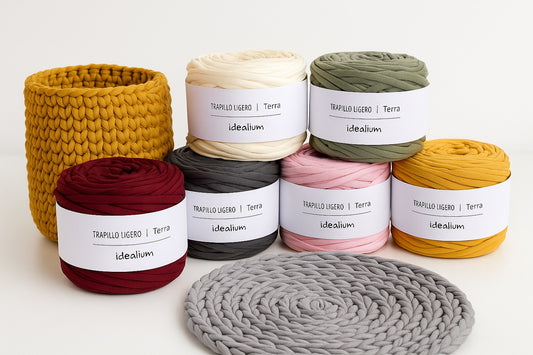
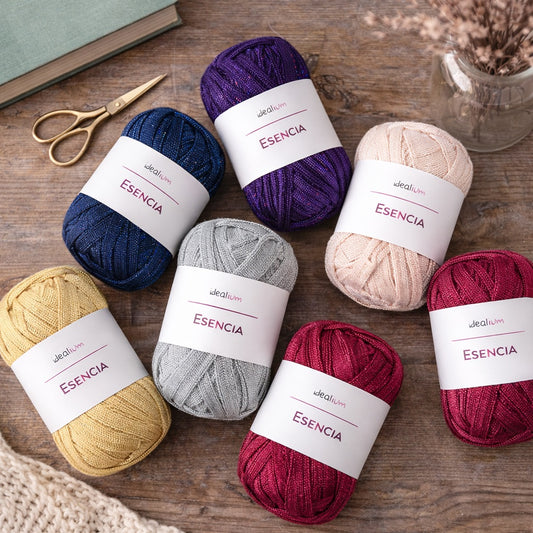
You can customize the colors to your liking:
- Neutral version: gray and brown.
- Female version: sand and raspberry.


Everything you need
| Material | Amount |
|---|---|
| Medium cotton balls | 3 (2 main colors + 1 contrast color) |
| Crochet hook | No. 4 mm |
| Synthetic filling | — |
| Lap counter | — |
| wool needle | — |
| Safety eyes or embroidery | 2 units |
Points used
- single crochet (sc)
- High midpoint (hmp)
- Slip stitch (sl)
- Chain (cad)
- Increase (aum) = knit 2 stitches in the same stitch
- Decrease (dism) = knit 2 stitches together
Step-by-step pattern
Tip: Place a stitch marker at the first stitch of each round to keep track. Always work in a spiral, without joining the rounds.
A. Head
- v1. Magic ring with 6 sc (6)
- v2. 1 increase at each point (12)
- v3. *1 sc, 1 inc* repeat (18)
- v4. *2 sc, 1 inc* repeat (24)
- v5. *3 sc, 1 inc* repeat (30)
- v6. *4 sc, 1 inc* repeat (36)
- v7. *5 sc, 1 inc* repeat (42)
- v8. *6 sc, 1 inc* repeat (48)
- v9–v14. 48 sc in each round
- v15. *6 sc, 1 dec* repeat (42)
- v16. *5 sc, 1 dec* repeat (36)
- v17. *4 sc, 1 dec* repeat (30)
- v18. *3 sc, 1 dec* repeat (24)
- v19. *2 sc, 1 dec* repeat (18) → fill the head well.
- v20. *1 sc, 1 dec* repeat (12)
- v21. *dism* until close (6). Close and finish.
B. Ears (x2)
- v1. Magic ring with 6 sc (6)
- v2–v13. 6 hdc in each round (6) -2 chain stitches at the beginning of each round
- v14. aum, 4 pma, aum (8)
- v15. 3 aum, 6 pma, 3 aum (12)
- v16. 3 dec, 6 hdc, 3 dec (8)
- v17. 8 pr. Close leaving a long thread for sewing.
C. Nose
Make 1 chain. Work 3 half double crochets into the chain. Adjust the oval shape and sew it to the center of the face.
D. Body
- Main color (same as on the head):
- v1. Magic ring with 6 sc (6)
- v2. 1 increase at each point (12)
- v3. *1 sc, 1 inc* repeat (18)
- v4. *2 sc, 1 inc* repeat (24)
- v5. *3 sc, 1 inc* repeat (30)
- v6. *4 sc, 1 inc* repeat (36)
- v7. *5 sc, 1 inc* repeat (42)
- v8. *6 sc, 1 inc* repeat (48)
- Switch to contrast color.
- v9. *7 sc, 1 inc* repeat (54)
- v10. *8 sc, 1 inc* repeat (60)
- v11. *9 sc, 1 inc* repeat (66)
- v12–v19. 66 sc in each round
- v20. *9 sc, 1 dec* repeat (60)
- v21. *8 sc, 1 dec* repeat (54)
- v22. *7 sc, 1 dec* repeat (48)
- Change to the main color.
- v23. *6 sc, 1 dec* repeat (42)
- v24. *5 sc, 1 dec* repeat (36)
- v25. *4 sc, 1 dec* repeat (30)
- v26. *3 sc, 1 dec* repeat (24)
- v27. *2 sc, 1 dec* repeat (18) → fill the body well.
- v28. *1 sc, 1 dec* repeat (12)
- v29. *dism* until close (6). Close and finish.
E. Arms (x2)
- v1. Magic ring with 6 sc (6)
- v2. 1 increase at each point (12)
- v3–v19. 12 pb
- Stuff lightly and close with 3 decreases (6). Finish off leaving a tail for sewing.
F. Legs (x2)
- Contrasting color:
- v1. Magic ring with 6 sc (6)
- v2. 1 increase at each point (12)
- v3. *1 sc, 1 inc* repeat (18)
- v4–v6. 18 bp
- Change to the main color:
- v7–v25. 18 pb
- Fill in and continue:
- v26. *1 sc, 1 dec* repeat (12)
- v27. *dism* until closed (6). Finish off leaving a tail for sewing.
Assembly and finishing
- Sew the head to the body, making sure the proportions are centered.
- Place your arms at neck level and your legs at the base of your body.
- Fix the ears on the top of the head, tilting them slightly to the sides.
- Attach safety eyes or embroider the eyes with black or dark brown thread.
- Embroider the nose with contrasting thread and an oval shape.
Tip: For a stronger bond, sew the pieces together with double thread of the same color and make internal knots well hidden between the stitches.
Care Guide
Hand wash with cold water and mild soap. Dry flat, without wringing. Do not iron the plush toy.