
Baby Everyday Jacket Pattern and Video Tutorial
A practical, comfortable little cardigan that is very easy to crochet. It is made vertically (side panel – back – side panel), then the sleeves and U-shaped elastic are added along the inside of the front panels and neckline. Ideal for crocheters looking for a quick, satisfying project for everyday wear.

🎥 Step-by-step video tutorial
If you prefer to follow the process visually, here is the complete video tutorial for the Everyday crochet baby cardigan. In it, I show you how to make the foundation, crochet the sides, shape the neckline, and add the sleeves and the final elastic.
Materials
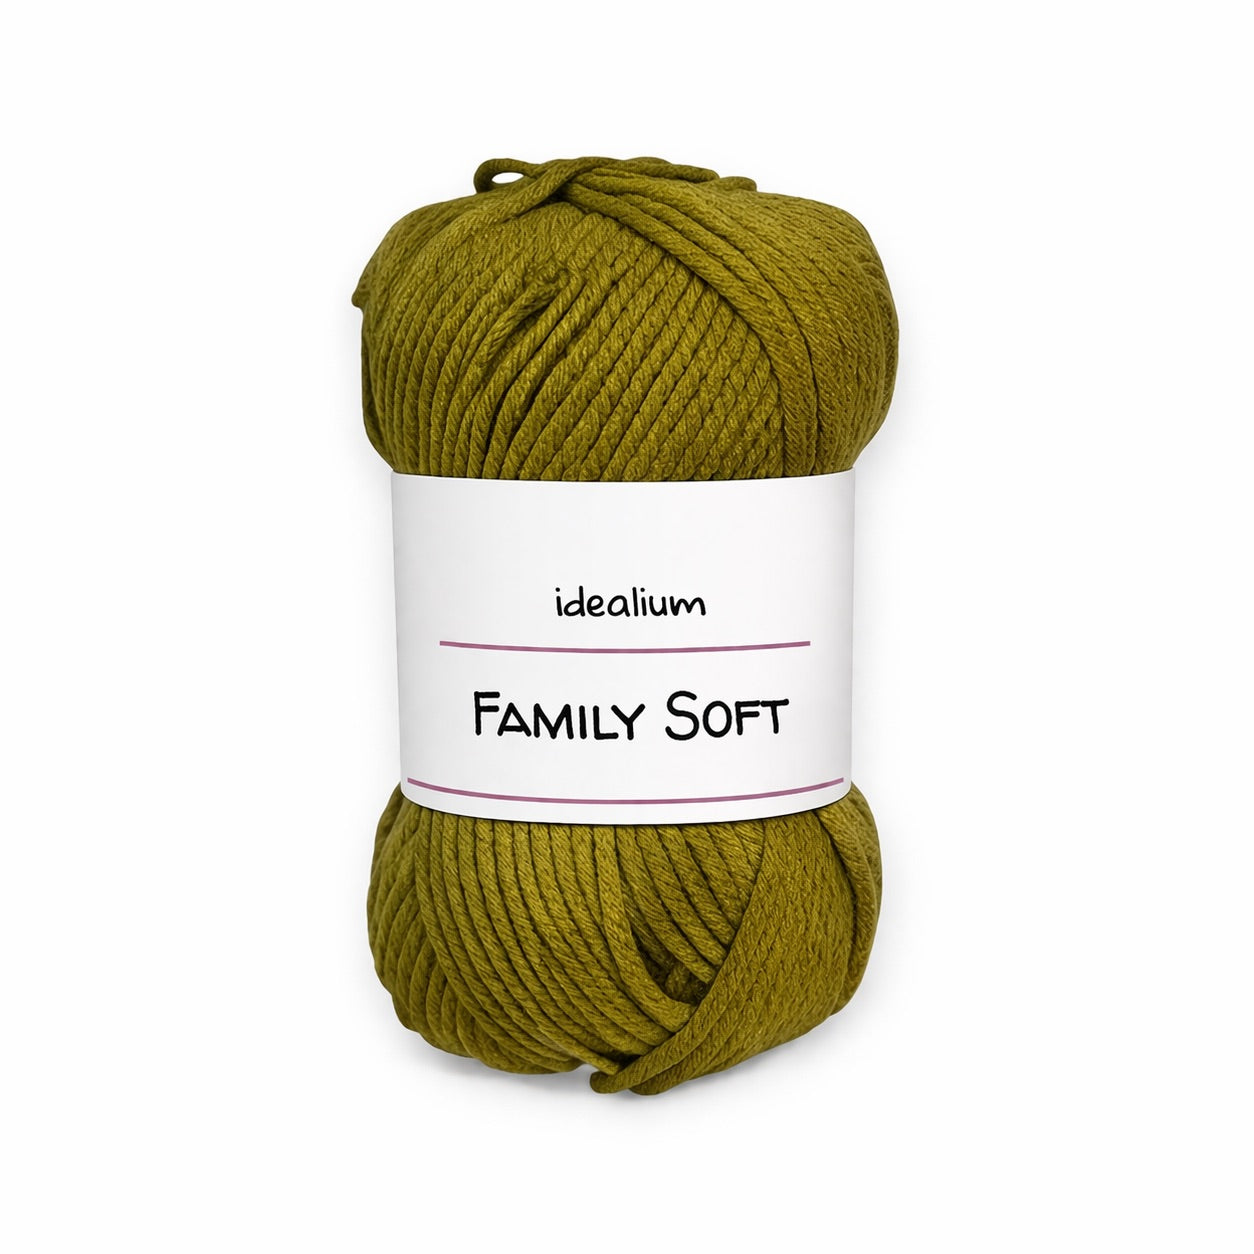
- Yarn: Rubí Bambino (100 g ≈ 200 m).
- Crochet hooks: 3.0 mm for crocheting; 4.0 mm only for the initial and turning chains.
- Extras: tapestry needle, stitch markers, scissors, optional buttons.
Idealium tip: if you are adding buttons, place them over the U-shaped elastic on the flap (on whichever side you prefer) and plan the spacing before sewing them on.
Available sizes
- 3 months (1 ball)
- 6 months (1 ball)
- 9 months (2 balls)
- 12 months (2 balls)
Throughout the pattern, stitches and rows are given by size in that order, separated by "/". For example, if it says "work 4/6/8/10 stitches", for the 3-month size you should work 4 stitches; for the 6-month size, 6 stitches; for the 9-month size, 8 stitches; and for the 12-month size, 10 stitches.
Gauge
With a 3 mm crochet hook, in 10 × 10 cm, half double crochet (hdc): 18 stitches × 14 rows.
It is important to check your gauge. If you crochet more tightly or loosely, you can try using a larger or smaller hook to match the gauge.
Step-by-step pattern
Body · Side 1
- Foundation chain with a 4.0 mm crochet hook: 76/82/86/90 chains.
- Switch to a 3.0 mm crochet hook and work in rows:
- Ribbed edges: 4 single crochets at each end; the edge stitch (the outermost one) is always worked normally, and the other 3 sc in the back loop.
- Center section: half double crochets → 68/74/78/82 hdc.
- Repeat ribbing + hdc + ribbing for 10/12/13/15 rows.
Neckline + Back
- Locate the center of the piece. There are 38/41/43/45 stitches on each side of the center (as a reference).
- To open the neckline, from the center toward the back, leave 3 stitches unworked.
- First back row: ribbing + 31/34/36/38 hdc, turn and work back (work the half double crochets + ribbing).
- Work the back this way for 7/7/8/8 rows.
Note: when the row starts with hdc, make 1 turning chain that does not count as a stitch.
Body · Side 2
- With the hook positioned at the neck corner, add chain stitches to restore the original length: 41/44/46/48 (remember to add them with a 4 mm hook).
- Work the other side the same as the first (ribbing + hdc + ribbing) for 10/12/13/15 rows.
Joining the sides and armholes
- Sew the sides with hdc, leaving an armhole of 14/17/18/19 stitches unsewn on each side.
- Therefore, sew 24/24/25/26 stitches on each side, and the remaining opening is the underarm.
Sleeves
- From the underarm, work the unfastened stitches back and forth: 28/34/36/38 stitches for 10/12/13/15 rows. You can work it flat and join it afterward with a slip stitch, or join each row with a slip stitch from the last stitch to the first, then turn.
-
Cuff elastic (in single crochet):
- Chain 4, work 1 row of sc (with 1 turning chain at the end).
- On the return row, join to the sleeve with 3 sl st at the base; turn.
- Work back along the strip with 4 sc (3 through the back loop + 1 full edge stitch).
- From the 2nd round onward, always work in the back loop except for the edge stitch (which is always worked through both loops).
- Repeat joining each return row with 3 sl st until you have gone around the cuff. Fasten off the elastic with a slip stitch.
Inner U-shaped elastic (fronts + neck)
- Work as for the cuff (strips of 4 sc, back loop + full edge stitch), but join to the body with 2 sl st (not 3) on each return row.
- Continue until the entire inverted U (front – neck – front) is complete. Fasten off with sl st.
Finishing and care
- Weave in the ends on the wrong side, following the direction of the stitches.
- Washing: machine washable (max. 30°C).
- Drying: dry flat (do not tumble dry).