How to knit a bag in pieces and sew it correctly
Share
Knitting a bag in pieces (panels) is one of the most effective ways to achieve a straight, clean, and highly controlled finish. It's the ideal method when you want a shopper bag with sharp corners, a structured clutch, or a design with a centered pattern that would be more difficult to square up in the round.
In this guide I'll show you how to plan the pieces, knit them so they're the same size, and above all, how to sew them together properly so the bag doesn't get misshapen and can withstand use.
Index
- Why choose individual pieces (and when it pays off)
- Types of piece construction
- How to plan measures without complicating things
- How to knit identical pieces (without surprises)
- Before sewing: key preparation
- How to sew a crochet bag: techniques that work
- Perfect corners: the detail that changes everything
- Finishing touches: top edge, handles and reinforcements
- Typical mistakes and how to avoid them
- Recommended materials
Why choose individual pieces (and when it pays off)
The piece-by-piece method stands out for three reasons:
- Absolute control of the shape: rectangles, sharp corners and exact proportions.
- Centered motifs: if your design needs symmetry (textures, stripes, drawings), it's simpler.
- Structured finish: when sewing, you can reinforce seams and provide stability.
It's especially effective on rectangular bags, clutches, shoppers, and designs with a rigid base or lining.
Types of piece construction
These are the 3 most common constructions:
1) Two panels + side and bottom seams
Knit the front and back the same size and join them at the sides and bottom. It's the easiest option.
2) Panels: front + back + sides + base
It gives a more "boxy" finish, with controlled volume. Ideal if you want a bag with straight sides.
3) One long piece folded + seams
You knit a large rectangle, fold it, and sew the sides. It works great for simple, sturdy bags.
How to plan measures without complicating things
For a basic pieced bag, decide first:
- Width (from side to side).
- Height (from base to top edge).
- Background (depth): whether it will be flat or with a base/sides.
Quick tip: If you want a "straight" and easy bag, start with two identical panels and decide whether the bottom will be flat or if you will add a rigid base/lining to give it body.
How to knit identical pieces (without surprises)
The key to the piece-by-piece method is making the parts as identical as possible. This is what works best:
1) Make a small sample of the dot
A large sample isn't necessary, but it's important to check that the stitch is tight and maintains a consistent tension. If the stitch sags, the bag will become misshapen in use (even if you stitch it perfectly).
2) Count by rows, not "by eye"
Write down exactly:
- Number of chain stitches (or base) for width.
- Number of rounds/rows for the high point.
3) Knit the second panel by “tracing” the first one
Knit the second panel next to the first. Every few rows, compare height and tension. With t-shirt yarn and cord, even a small change of hand makes a big difference.
4) Avoid edges that warp
In paneling, the edges are crucial. If they curl, the seam will pull and the bag will end up crooked.
- If it ripples: you have either added too much height or loosened the tension.
- If it shrinks: you're tightening the turns too much.
Before sewing: key preparation
- Block with your hand : place each piece on a table and smooth it gently.
- Align the pieces : place the front and back facing each other, check that they match at the top, bottom and sides.
- Secure with markers or pins (if your material allows): mark key points (corners and center).
- Decide on the type of stitching according to the finish you want (invisible, reinforced, decorative).
How to sew a crochet bag: techniques that work
These are the 3 most useful techniques for crocheting bags with t-shirt yarn and cord:
A) Sewing with a woolen needle (mattress type / invisible)
It's the cleanest option if you want the seam to be barely visible.
- Thread a strand of the same material (or a thinner, stronger one if you prefer less volume).
- Join the edges by picking up "side threads" from each piece, alternating left and right sides.
- Adjust the tension gradually, without frowning.
Ideal for: low-point panels, compact knitting and bags where you want a discreet finish.
B) Crochet stitching (slip stitch or single crochet)
Join the pieces by crocheting directly. A visible but very strong seam will remain.
- Place the pieces right sides together, or as you prefer depending on the finish.
- Insert the crochet hook, catching both edges at the same time.
- Join with a slip stitch (more discreet) or a single crochet stitch (more marked and reinforced).
Ideal for: shoppers, everyday bags and structures that need to withstand weight.
C) Reinforced stitching (double pass)
If the bag is going to carry weight, this option offers a lot of security:
- First join with an invisible seam or satin stitch.
- Then do a second inner pass (on the inside) to reinforce.
Perfect corners: the detail that changes everything
The corners are the first place you can tell a bag is "well made". To keep them clean:
- Mark the corners before sewing (with a marker).
- Sew from the corner towards the center on each side (instead of sewing all at once without checking).
- Avoid pulling : the seam should hold, not pucker.
Pro tip: If you want a more "boxy" corner, add a base (a separate piece or a rigid base) and sew the sides to it. The bag gains structure and the bottom remains flat.
Finishing touches: top edge, handles and reinforcements
Top edge
A firm top edge prevents the bag from "opening" with use. Simple ideas:
- 1–2 rounds of compact single crochet .
- 1 round of slip stitch (loosely) for a very clean finish.
Handles
In pre-made bags, the handles are usually sewn at very specific points. Recommendations:
- Reinforce the area with several stitches and, if possible, with an internal reinforcement (strip of fabric, rigid piece, etc.).
- If the handle is knitted, use a tight stitch so that it doesn't give way.
Lining (if you're looking for a premium finish)
The lining is not just for aesthetics: it helps maintain the shape and protects the fabric from internal friction.
Typical mistakes and how to avoid them
1) Panels with different dimensions
Solution: Count rows, compare in parallel, and adjust before finalizing.
2) Gathered seam
Solution: Sew with steady tension; if you tighten too much, the edge will shrink and become distorted.
3) Loose seam that opens with use
Solution: Use crochet stitching or double stitching on bags that will carry weight.
4) “Odd” or crooked corners
Solution: Mark corners, sew with control, and align the center of each side.
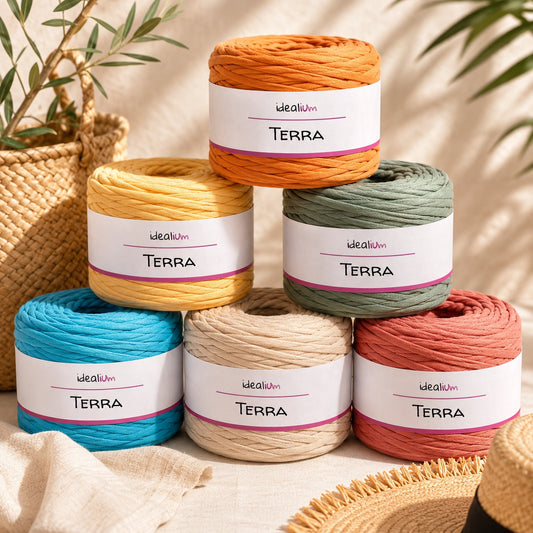
- Heavy-duty wool needle for clean seams.
- Markers for aligning corners and centers.
- Compact material (yarn/cord) to help the panel maintain its shape.
- Optional: rigid base or lining if you're looking for a more structured finish.
Knitting in pieces gives you control and a very professional finish, but the secret is in the stitching. If you align it well, mark key points, and choose the right join (invisible or crocheted), your bag will be straight, sturdy, and have a perfect shape.