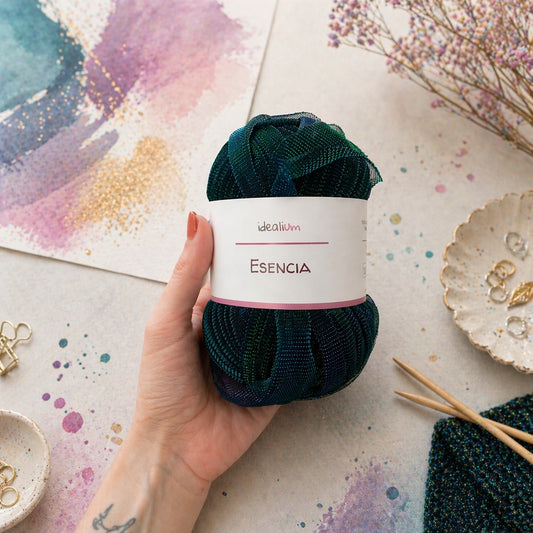

How to crochet a T-shirt-yarn bag with a round base
Crocheting a T-shirt yarn bag with a round base is one of the most popular and rewarding options, especially for baskets, sack-style bags, and soft designs with a natural drape. The key is to understand exactly where and how to make the increases, so the base stays flat and the bag rises straight without rippling.
In this article, I explain step by step how to crochet a T-shirt yarn bag with a round base, from the beginning through the sides, with practical tips to help you achieve a beautiful, balanced shape.

When to choose a round base for a T-shirt yarn bag
A round base is ideal when you are looking for a bag that is:
- With a soft, organic shape
- Sack, bucket, or basket style
- Without pronounced corners
- With a natural drape and handcrafted look
It works especially well for summer bags, large bags, and projects where the T-shirt yarn has some weight and presence.
If you want to compare this method with other constructions, I recommend reading the complete guide on how to crochet a T-shirt yarn bag.
Recommended materials
- Medium- or thick-weight T-shirt yarn
- Crochet hook suitable for the T-shirt yarn (usually 8–10 mm)
- Stitch marker
- Scissors
For round bases, it is especially important that the T-shirt yarn has an even thickness so that the increases remain balanced.

How to start a round T-shirt yarn base
The round base is worked in a spiral, without joining rounds, always marking the beginning.
Round 1
Make a magic ring or chain 4–5 stitches and join them into a circle. Work 6 single crochets into it.
Round 2
Increase in every stitch: 2 single crochets in each stitch. You will have 12 stitches.
Round 3
Alternate: 1 single crochet + 1 increase. Total: 18 stitches.
Following rounds
Continue increasing regularly:
- Round 4: 2 stitches + increase
- Round 5: 3 stitches + increase
- Round 6: 4 stitches + increase
The number of rounds will depend on the final diameter you want for your bag.
How to tell if the increases are correct
A well-crocheted round base should:
- Lie flat when placed down
- Waving (too many increases)
- Curling into a bowl shape (not enough increases)
If you notice that the base isn’t flat, don’t worry: undo one round and adjust the rate of increases. T-shirt yarn is forgiving, but you need to keep an eye on your work.
How to work up the sides of the bag
Once you’ve reached the desired diameter, it’s time for the key step: stop increasing.
Crochet one complete round working into the back loop only (BLO) or the full stitch, without increases. This creates the angle between the base and the sides.
From there, continue crocheting single crochet stitches in a spiral until you reach the desired height.

Bag height and shape
With a round base, you can achieve different styles depending on the height:
- Few rounds: basket-style bag
- Medium height: bucket bag
- More height: bucket or planter-style bag
If you want to add more structure, you can combine T-shirt yarn with a stiffer cord in the final rounds.

Handles and finishing touches
The handles can be added:
- Crocheted directly
- Sewn on afterwards
- With wooden, metal, or leather handles
For round-base bags, shoulder straps or short handles work especially well.

Common mistakes when crocheting a round base
- Not using a stitch marker
- Increasing “by eye” without consistency
- Starting to work up the sides too soon
- Not adjusting the tension when moving from the base to the sides
Conclusion
Crocheting a round-base T-shirt yarn bag is a simple yet highly versatile technique. By mastering increases and the transition to the sides, you can create anything from decorative baskets to everyday bags.
If you want to keep learning, don’t miss this complete guide to crocheting T-shirt yarn bags, where you’ll find every construction method explained step by step.