How to crochet a t-shirt yarn bag with an oval base
The oval base is one of the most popular shapes for t-shirt yarn bags when a balanced, practical form with good capacity is desired. It's especially common in tote bags, shopper bags, and medium-sized everyday bags.
In this article I explain how to crochet a t-shirt yarn bag with an oval base step by step , explaining where the increases go, how to maintain the shape, and how to raise the walls without deformation.

When to choose an oval base
The oval base is an excellent option if you are looking for:
- A sturdy bag, but without sharp corners
- More capacity than a round base
- A convenient way to use every day
- A visually balanced design
It's a very versatile base, somewhere between rectangular and round. If you want a complete overview of all the options, you can consult the full guide to crocheting t-shirt yarn bags .
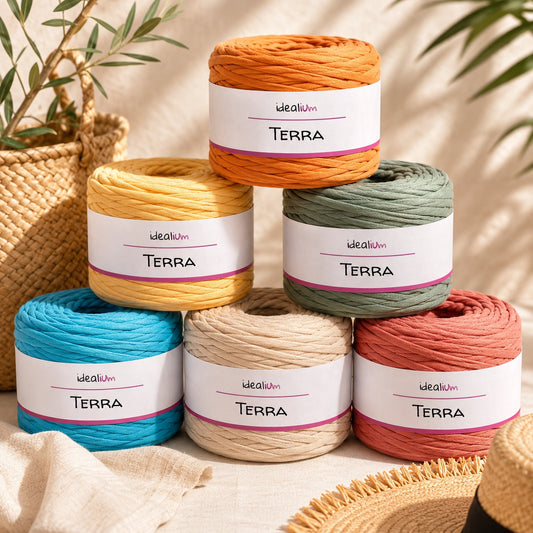
Recommended materials
- Medium or thick t-shirt yarn
- Crochet hook appropriate for t-shirt yarn (8–10 mm)
- Scoreboard
- Scissors
On oval bases, it is important to maintain constant tension so that the sides do not warp.

How to start an oval base
The oval base is built from a central chain , which is worked on both sides.
Lap 1
Cast on a chain of the desired length for the base of the bag. Crochet single crochet stitches along the chain.
At the last point, crochet 3 single crochet stitches so you can turn and continue on the other side of the chain.
Lap 2
Work single crochet stitches along the straight side (skipping the first one, where you already have 3 single crochet stitches). At the other end, make the same increases to maintain the curved shape, working 3 single crochet stitches into the last chain stitch.
Next laps
Continue knitting in a spiral, increasing only in the curved areas (at the ends), and keeping single stitches on the straight sides.

Where to make the increases on an oval base
As you can see in the diagram, the key to a well-made oval base is in the increases.
- On the long sides: no increase
- In the short ends: progressive increases
If you make too many increases, the base will wavy. If you make too few, it will curve into a bowl shape.
The base should lie flat when placed on the table.
How to climb the walls of your bag
Once the desired size of the oval base is reached, it stops growing completely.
Knit one round picking up the back loop (BLO) or the entire stitch, without increases, to mark the angle between the base and walls.
From there, continue weaving in a spiral until you reach the desired height.

What shape of bag can be achieved with an oval base?
Depending on your height, you can get:
- Low basket-style bags
- Structured tote bags
- Medium-sized handbags for everyday use
The oval base distributes the weight very well and is comfortable to carry.


Recommended handles
They work especially well in bags with an oval base:
- Short tote-style handles
- Integrated woven handles
- Independent handles sewn or with rings
If the bag is going to be heavy, it's important to reinforce the handle area well.
Common mistakes when knitting an oval base
- Failure to respect the designated areas for increased traffic.
- Increase also in the long sides
- Do not use lap marker
- Climbing walls ahead of time
Conclusion
Knitting a t-shirt yarn bag with an oval base is a very practical and rewarding technique, perfect for functional and well-balanced bags.
If you've already mastered the rectangular or round base, the oval is the next logical step. And if you want to continue learning, you can return to the complete guide to bag knitting shapes .