How to integrate a rigid base into a t-shirt yarn bag
Share
If you want your t-shirt yarn bag to keep its shape, not sag under weight, and have a more "pro" finish, there's a trick that makes all the difference: integrating a rigid base .
In this guide, I'll explain the cleanest and most durable ways to do it, whether your bag is crocheted in the round or in pieces . You'll also see what type of base to choose, how to line it (so it doesn't wear out), and how to integrate it seamlessly.
Index
- Why use a rigid base
- Types of rigid bases (and which one is right for you)
- How to take measurements without failing
- Option A: Loose rigid base (removable)
- Option B: rigid “encapsulated” base with lining
- Option C: base sewn or attached to the fabric (integrated)
- If the bag is knitted in the round
- If the bag is woven in pieces
- Pro tips for a flawless finish
- Typical mistakes and solutions
- Recommended materials
Why use a rigid base
A rigid base offers 4 clear advantages:
- It prevents the bottom from sagging when you add weight.
- It helps maintain the shape (especially in basket or shopper bags).
- Improves the finish : the bag looks straighter and more "store-made".
- Protect the fabric from rubbing against what you're wearing inside.
Types of rigid bases (and which one is right for you)
Without getting into brands, these are the most common options:
- Rigid plastic plate (lightweight and practical): ideal for everyday bags.
- Thin “board” type base (very firm): perfect if you want maximum structure.
- Rigid base already prepared with holes/perimeter: useful if you want to fix it to the fabric.
Practical recommendation: For t-shirt yarn, a lightweight, rigid base is usually sufficient if you encase it with lining. If you want a super firm basket effect, upgrade to a more rigid base and lining.
How to take measurements without failing
This step is key to ensuring the base fits properly and doesn't deform the bag:
- Measure the inside of the bottom (not the outside).
- Leave a small margin so that it fits without forcing it: between 0.5 and 1 cm in total (depending on how firm your fabric is).
- If your bag is oval, measure the inside length and width and slightly round the corners.
Option A: Loose rigid base (removable)
It's the easiest way. The base rests inside, without sewing.
How to do it
- Cut the base to the inside size.
- Round off corners (so that it doesn't mark or wear out the fabric).
- Optional: Cover the base with fabric (simple cover type) to protect the interior.
- Insert the base at the end.
Ideal if: you want to be able to take it out to wash the bag or change it.
Option B: rigid “encapsulated” base with lining
This option provides the best finish. The base is protected, doesn't rub, and feels premium.
How to do it (clean method)
- Cut the rigid base to size.
- Cut two pieces of fabric in the same shape, leaving a seam allowance.
- Join both fabrics as if it were a "cover" (right side to right side), leaving an opening to insert the base.
- Turn it over, insert the base and close the opening with an invisible stitch.
- Insert the fabric “sandwich” + base inside the bag.
Extra tip: if the bag is going to be heavy, this option prevents the base from moving and greatly extends the life of the yarn.
Option C: base sewn or attached to the fabric (integrated)
If you want the base to be fully integrated, you can fix it to the inside so that it doesn't move.
Two ways to fix it
- With lining: you sew the lining to the inside of the bag and the lining "holds" the base.
- With internal stitches: you make discreet stitches that only go through the inside (without marking the outside) to keep the base in place.
Important: If you use stitches, do so in inconspicuous areas (near corners or sides) and avoid pulling too tight: the idea is to hold, not deform.
If the bag is knitted in the round
In round bags, the rigid base is usually inside (removable or encased). What makes the difference is:
- The woven background should be flat (without waves).
- Make sure the base/wall break is marked (for example, 1 turn in BLO) so that the weight does not "open" the bag.
If the bag sags, it's usually not just the rigid base: the stitching and tension also play a role.
If the bag is woven in pieces
In bags made of pieces (panels), it is very easy to achieve a flawless rigid base, because the shape is usually rectangular or a clear oval.
- Place the rigid base inside, preferably encased in fabric.
- If you are going to line the bag, the lining can have a "pocket" or support for the base.
Pro tips for a flawless finish
- Round off corners : prevent the yarn from wearing out or getting marked.
- Don't force the size : a base that's too big will deform the bag.
- Protect the base with fabric if the interior will be subject to friction (keys, zipper, etc.).
- Combine with a lining if you're looking for a "basket" structure and premium finish.
- Reinforce the top edge : a rigid base improves the bottom, but the top edge must also be firm so the bag doesn't open.
Typical mistakes and solutions
The base does not enter (or enters by forcing)
Solution: Trim off 0.5–1 cm in total and round off the corners. It's better for it to be a little loose than for it to be misshapen.
The base moves inside
Solution: Encapsulate it with fabric or secure it with the lining. You can also make discreet internal stitches.
The edge of the base is marked
Solution: Use fabric around the base and round off the corners more.
The bag continues to sag under the weight.
Solution: more compact stitching + top edge reinforcement + lining. The rigid base helps, but the overall structure depends on the assembly.
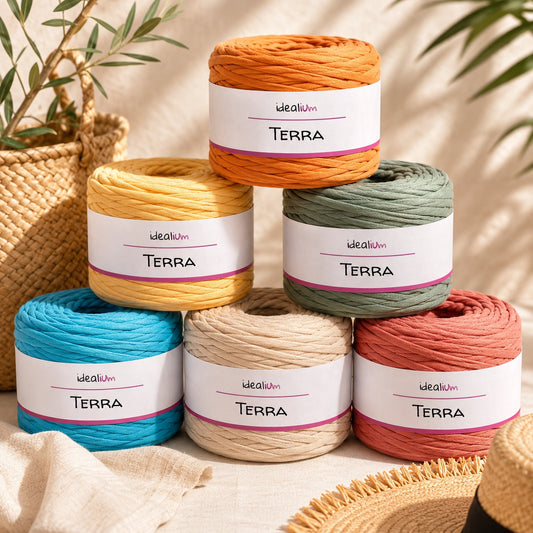
- T-shirt yarn for a fabric with body.
- Rigid bases and structural accessories.
- Linings and sewing materials for encapsulating and protecting.
- Wool needle and markers for finishing and control.
Adding a rigid base is one of the most effective improvements you can make to t-shirt yarn bags. If you choose the right size, round the corners, and protect it with fabric (or secure it with lining), your bag will gain structure, durability, and a much more professional finish.