Geometric bags made of t-shirt yarn and cord: ideas and techniques
Geometric handbags are having a moment: clean lines, striking shapes, and a modern, store-bought finish. The combination of t-shirt yarn (for body and volume) and cord (for structure, handles, and edging) is a winning formula for creating elegant, durable, and sophisticated bags.
Index
- Why geometric bags work so well
- Recommended materials and tools
- Geometric shapes that are most flattering
- Key techniques for a "pro" finish
- T-shirt yarn + cord combinations: when to use each one
- Finishing touches and details that elevate the design
- Typical mistakes and how to avoid them
- Geometric design ideas (quick list)
- Frequently Asked Questions
Why geometric bags work so well
- They are timeless: rectangles, cylinders, trapezoids or envelope shapes always look current.
- They enhance the finish: straight lines and angles "organize" the fabric and conceal small irregularities.
- They scale easily: with the same basic pattern, you change proportions (height/width/depth) and you get different models.
- They allow structure: the cord and some reinforcement resources turn a soft bag into one with body.

Recommended materials and tools
For a solid and elegant geometric handbag, this is the base:
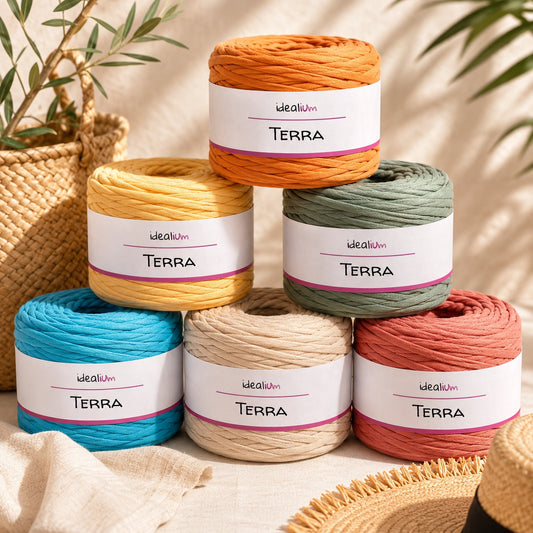
- T-shirt yarn (body of the bag): provides volume and a quick weave.
- Cord (structure, handles and finishing touches): ideal for reinforcing edges, creating firm handles and giving a more "polished" look.
- Crochet hook (medium/large size depending on the thickness of the material) and stitch marker.
- Rigid base (optional): to ensure the bottom is flat and stable.
- Lining (optional but highly recommended): improves resistance and prevents deformation with use.
- Hardware (carabiners, rings, chains, magnetic closures/mouthpiece): the finishing touch for a premium bag.
Geometric shapes that are most flattering
These are the silhouettes that work best with t-shirt yarn + cord, and why:
| Shape | What it conveys | Recommended spot | Where to use cord |
|---|---|---|---|
| Vertical rectangle | Elegant, stylish and makes a statement | Compact low point / centered low point | Top edge + handles |
| Trapeze | Modern, with a controlled fall | Low point + discrete decreases | Sides + mouth |
| Cylinder / “bucket” | Minimal and functional | Low centered point for uniform texture | Cord on handle or closure |
| Clutch | Polished, ideal for hardware | Very tight low point | Contour + closure |
Key techniques for a "pro" finish
1) Compact point: the secret of clean edges
For geometric bags, a stable fabric is important. The most useful stitches are:
- Low point (classic): firm and easy to control.
- Low centered point : uniform, compact texture and very visually “elegant”.
- Alternating single crochet + chain stitch (and in the next round crochet over chains): creates relief, air and a very pretty geometric pattern if you maintain constant tension.
2) Perfect corners (without bumps)
To make a rectangular base look sharp:
- Mark the 4 corners with markers.
- At each corner, use the same "package" of increases (for example, 3 stitches in the same corner or 2 stitches + 1 chain, depending on the pattern).
- Avoid adding increases "by eye": it makes a big difference in geometry.
3) Turning turns to raise straight walls
When you finish the base, knit a "turning" round so that the side rises vertically:
- single crochet in back loop (BLO) all the way around: defines the base-side edge.
- If you're looking for even more structure, that loop can be made with cord (or a combination of both), depending on the thickness.
4) Invisible union when closing turns
In minimalist bags, the joining "step" is key. You can crochet in a spiral (without closing rounds) or use a discreet closing: slip stitch + turning chain + first stitch in the same place (always maintaining the same method).
T-shirt yarn + cord combinations: when to use each one
The rule of thumb: t-shirt yarn for volume and presence; cord for structure and "jewel" details.
- Bag body: compact knit t-shirt yarn.
- Top edge: 1-2 turns with cord to "seal" the mouth and prevent it from opening.
- Handles: cord (alone or with internal reinforcement) so that it does not give way under weight.
- Geometric details: vertical/horizontal lines with raised cord (e.g., knitting a round of slip stitches over the surface).
Finishing touches and details that elevate the design
“Architectural” upper edge
- 1 round of single crochet in a cord.
- 1 round of slip stitch to visually compact.
- If you want a very rigid finish: add a reinforcing tape or a thin internal cord sewn to the lining.
Lining that structures
The lining isn't just for looks: it helps the bag maintain its shape, especially in rectangular models. You can add a hidden rigid base (plastic cardboard/specific base) and sew the lining to fit snugly around it.
Hardware: the premium “click”
- Crossbody chain : elevates any geometric design.
- Metal rings for handles: polished and durable look.
- Magnetic closure on envelope or rectangular bags: discreet and convenient.
- Metal nozzle on clutch: transforms the fabric into a very sophisticated accessory.
Typical mistakes and how to avoid them
- Uneven tension: noticeable in the geometry. Solution: slow down, check every few laps and adjust tension before moving forward.
- "Round" corners: magnifications are missing or misplaced. Solution: markers + symmetrical magnifications.
- Opening: lacks a firm finish. Solution: 1–2 rounds with cord and/or a round of slip stitch.
- Handles that sag: material too soft or weak anchoring. Solution: cord, internal reinforcement, and strong stitching to secure them to the lining.
Geometric design ideas (quick list)
- Minimalist vertical rectangular: body in t-shirt yarn + upper edge in cord + middle handle with rings.
- Cylindrical bucket: circular base, straight sides, drawstring closure and metal stopper.
- Envelope clutch: compact fabric + rigid flap + hidden magnetic closure.
- Structured trapezoid: discreet side decreases for a modern silhouette.
- “Block” bag: rectangular base + very vertical sides + thin chain for elegant contrast.
- Relief geometry: vertical lines with cord on the body (architectural panel effect).
Choose t-shirt yarn and cord that work well together and create a geometric bag with structure, sturdy finishes, and a modern aesthetic. If needed, also prepare a lining and hardware to complete it as a premium accessory.
Frequently Asked Questions
Which point looks more "geometric"?
The centered low stitch usually gives the most uniform and elegant finish. If you're looking for even more firmness, the classic low stitch with constant tension works very well.
Is lining essential?
It's not mandatory, but it's highly recommended if you want the bag to maintain its shape, support weight, and look more finished. It's especially noticeable in rectangular or envelope-style designs.
How do I prevent the bag from becoming deformed with use?
Compact fabric, reinforced top edge (ideally with a drawstring), well-anchored handles and, if possible, a lining with a hidden rigid base.