Unisex Ribbon K Crochet Hat Pattern
Unisex Ribbon K Crochet Hat Pattern
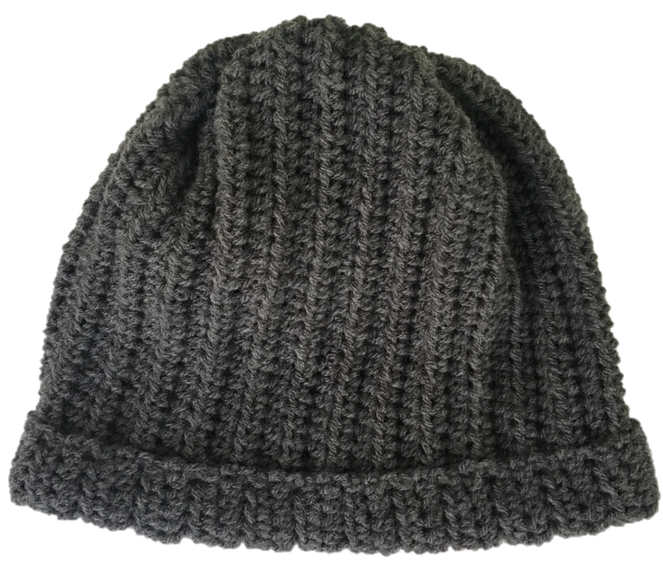
This free unisex crochet hat pattern is a must-have staple. Featuring a pretty trim and a bottom hem for a modern touch, it's designed in a standard adult size, suitable for both men and women.

Materials for this pattern
- Balls of wool: 1 ball
- Crochet hook: No. 4 mm
- Accessories: wool needle
👉 Buy the balls at Idealium and choose your favorite color to knit this unisex hat.
Final measures
Standard adult size (circumference approx. 55–57 cm)
Abbreviations
- ch: chain
- sc: half double crochet
- pr: slip stitch
🧵 Points spent
- Half double crochet
- Slip stitch
- Work on the front or back strand to create relief
Step-by-step pattern
✱ Start .- Knit 42 chains (or until your work measures 27 cm).
✱ Row 1. - Knit 1 half double crochet in the third chain from the needle, and another 39 half double crochets in the remaining chains (total 40 stitches).

✱ Row 2. - Chain 2 in height and knit: 5 single crochets, inserting the needle only through the front loop (PHOTO A) + 35 single crochets, inserting the needle only through the back loop (PHOTO B). Total 40 stitches.

✱ Round 3. - Chain 2 in height and knit: 40 half stitches.
✱ Repeat rounds 2 and 3 until reaching 55 cm (in my case round 55), always finishing with the steps of round 3.

✱ Join both sides with a slip stitch to make the circular piece.
✱ Place the fold on the band where the different relief is, leaving the reliefs of the large piece interspersed with the reliefs of the fold (PHOTO A) and sew joining the first and tenth stitches (the tenth stitch is the one that is just behind the first if we have placed the fold, since the fold has a height of 5 stitches of the fold + 5 stitches behind), passing the needle through both sides of each relief so that it is well fixed (PHOTO B).

✱ Sew the top of the hat: Thread the first stitch of each relief stitch (PHOTO A). Pull through and fasten (PHOTO B). Thread the first stitch of two relief stitches, skip 3, and repeat (C).

✱ We pull the thread tightly and there we have it!
✨ Finishes
- Finish off the strands with a wool needle.
- Fold the bottom band for a better fit.
💡 Tips
- If you want a looser hat, add more chains at the beginning.
- Change the color of Ribbon K for a more striking style.
- Ideal as a DIY gift, quick and unisex.
1 comment
Me gustaría ponerme en contacto con vds, un tlf por favor? Que es el punto medio?